Create Cloud9 Workspace
AWS Cloud9 is a cloud-based integrated development environment (IDE) that lets you write, run, and debug your code with just a browser. It includes a code editor, debugger, and terminal. Cloud9 comes prepackaged with essential tools for popular programming languages, including JavaScript, Python, PHP, and more, so you don’t need to install files or configure your development machine to start new projects.
Warning: The Cloud9 workspace should be built by an IAM user with Administrator privileges, not the root account user. Please ensure you are logged in as an IAM user, not the root account user.
Info: Ad blockers, JavaScript disablers, and tracking blockers should be disabled for the cloud9 domain, otherwise connecting to the workspace might be impacted.
Create a new environment
- Go to the Cloud9 web console
- At the top right corner of the console, make sure you are using Virginia (us-east-1) region
- Select Create environment
- Name it workshop, and go to the Next step
- Select Create a new instance for environment (EC2). For Instance Type choose Other Instance type and choose t2.medium from the pull down menu
- Leave all of the environment settings as they are, and go to the Next step
- Click Create environment
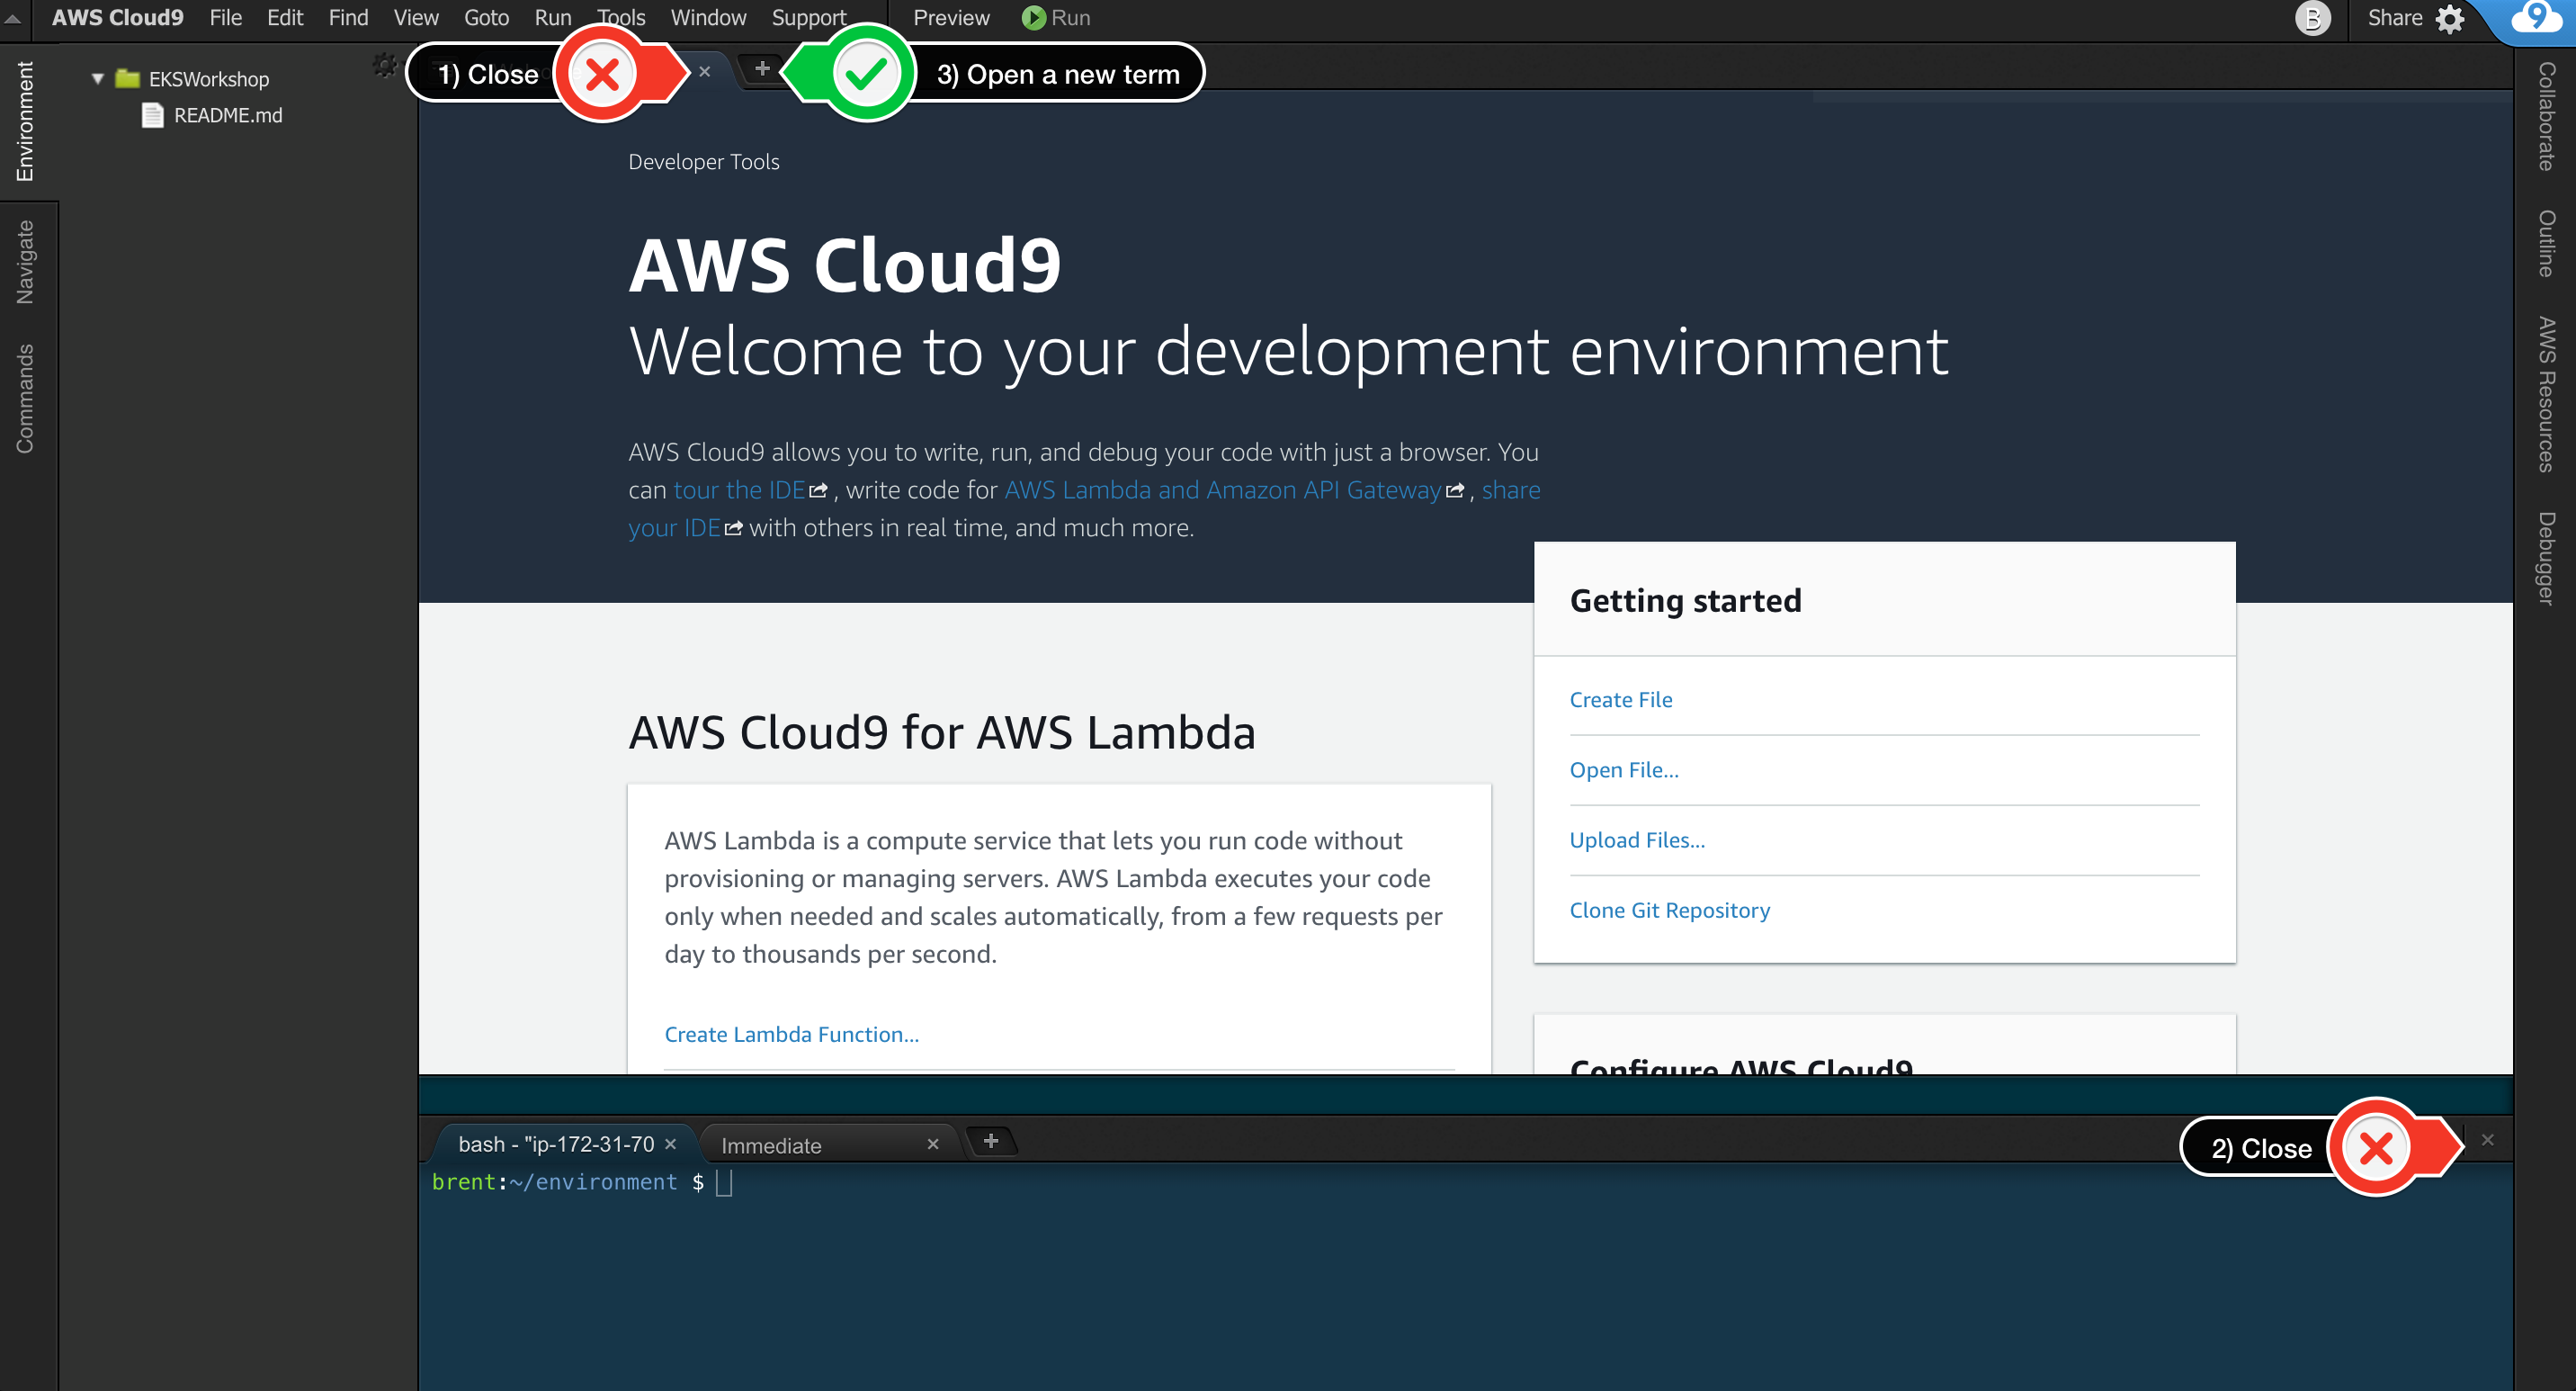
Clean up the layout
When the environment comes up, customize the layout by closing the welcome tab and lower work area, and opening a new terminal tab in the main work area:
Your workspace should now look like this:
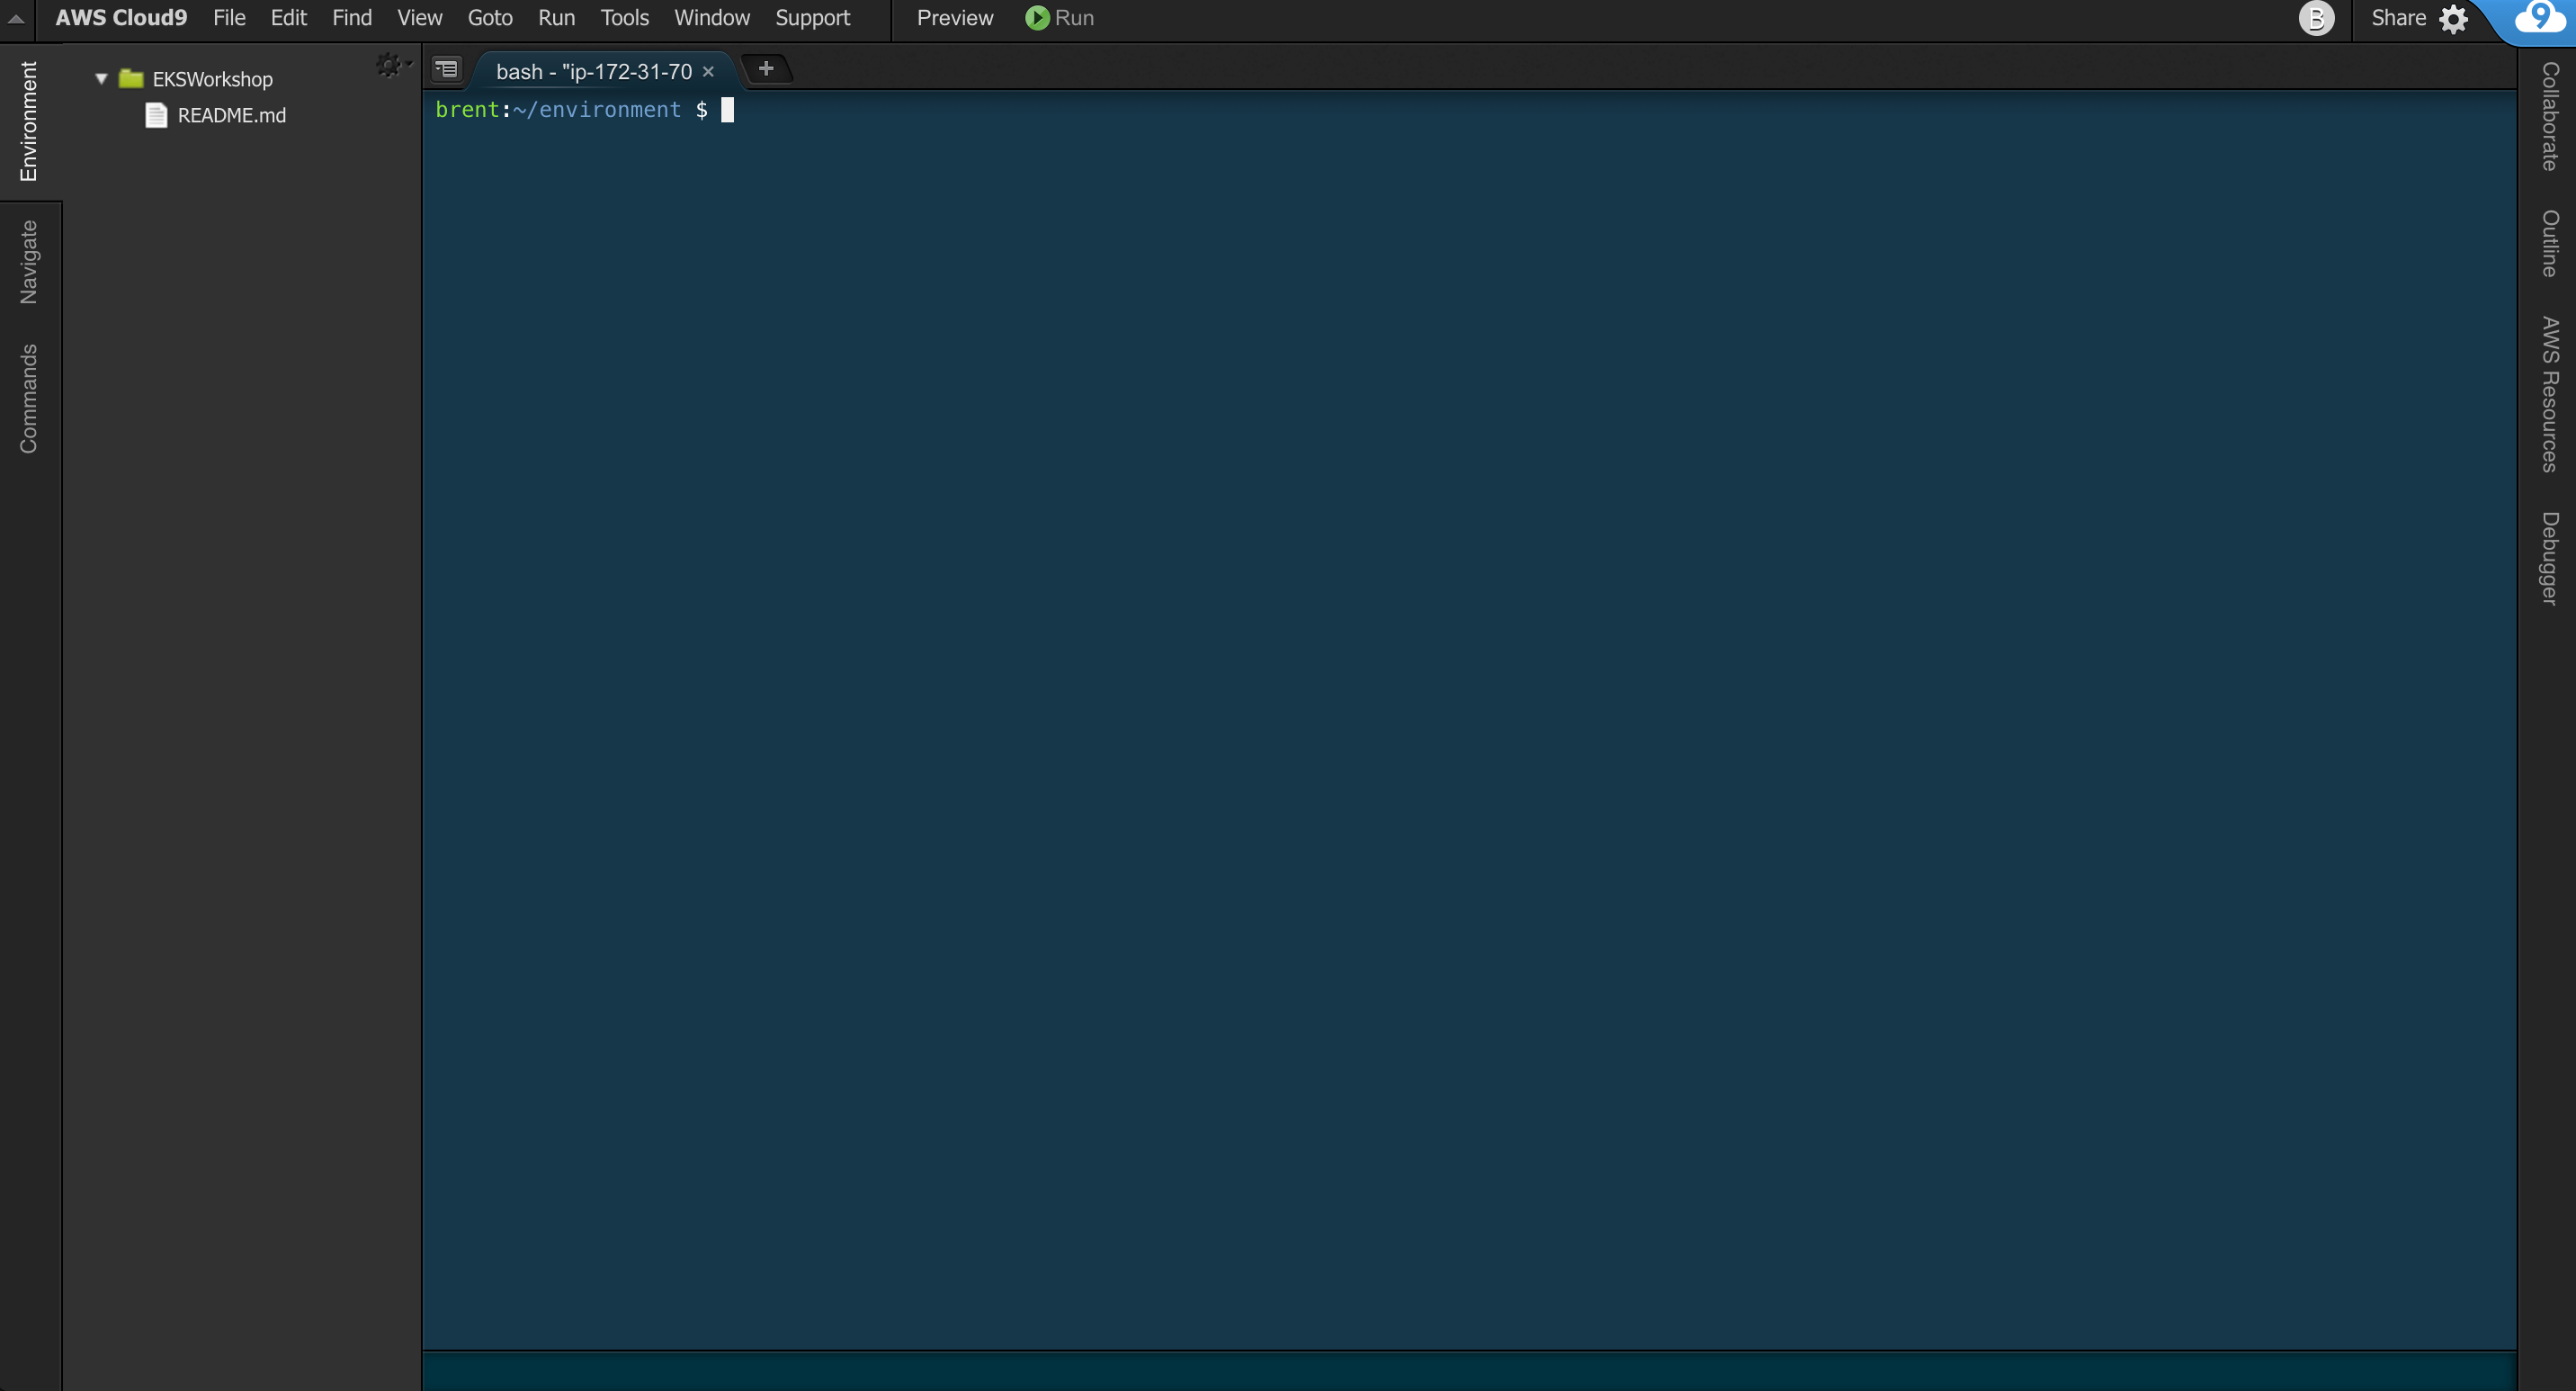
If you like this theme, you can choose it yourself by selecting View / Themes / Solarized / Solarized Dark in the Cloud9 workspace menu.
Configuring a default region
A best practice is to deploy your infrastructure close to your customers. Configure a default AWS region for this workshop : Northern Virginia (us-east-1) for North America or Ireland (eu-west-1) for Europe. Note that for tthis workshop we will use us-east-1. Create an AWS config file, run the following for us-east-1 (change appropriately for other regions):
cat <<END > ~/.aws/config
[default]
region=us-east-1
END
Get the scripts and resize the diskspace for Cloud9 environment
- Get the scripts we will be using today
curl "https://d3v65tjf58jeni.cloudfront.net/scripts.tgz" -o scripts.tgz
tar zxvf scripts.tgz
chmod +x scripts/*.sh scripts/*.py
- Resize the diskspace to 25GB
. scripts/resize.sh 25
Install the correct versions of AWS CLI and python SDK
Use the following commands to install AWS CLI v2 and the latest versions of python SDK
curl "https://awscli.amazonaws.com/awscli-exe-linux-x86_64.zip" -o "awscliv2.zip"
unzip awscliv2.zip
sudo ./aws/install

sudo pip install botocore --upgrade
sudo pip install boto3 --upgrade
Now your environment is all set for further work with Kendra.